When you’re preparing your exam or a test, the most time-consuming part of this process is creation of all the questions that have to be added to the quiz.
Even if you already wrote the entire set of questions necessary for the test, you still need to enter all of them into your online testing tool.
If you have to do it for ten or fifteen questions, it’s usually a very easy task. But what if your test must contain hundreds of questions? And what if you need to create dozens of such big tests?
Some of HmmQuiz users prepare thousands of questions for tens of tests. Entering all of them one by one, using a regular question creation page, would be quite tiring.
That’s why in HmmQuiz you can also use an alternative option, developed specifically for this type of situations, called “Import Questions”.
This function allows you to prepare on your computer a simple text file with all of your questions for the current test, and then upload this file to HmmQuiz.
After a few seconds, when the application finishes processing the file, all of your questions will be automatically saved in your HmmQuiz account and added to the current test.
Step #1. Generate questions templates
First of all, you need to generate a text file which will serve as a set of templates for all of your questions. In order to do this, go to the “New Question” page:
- if you make a new test, on the “New Test” page click on the “Save & Add First Question” button;
- if you want to add questions to the existing test, in the “Tests” section of your HmmQuiz account, in the “Tests” table, click on the “Questions” button in a row with the test you want to add new questions to, and then click on the “Add Question” button in the top right corner of the next page.
On the “New Question” page in the top right corner you’ll find the “Import Questions” button. Having clicked on it, you will see the “Import Questions” modal window.
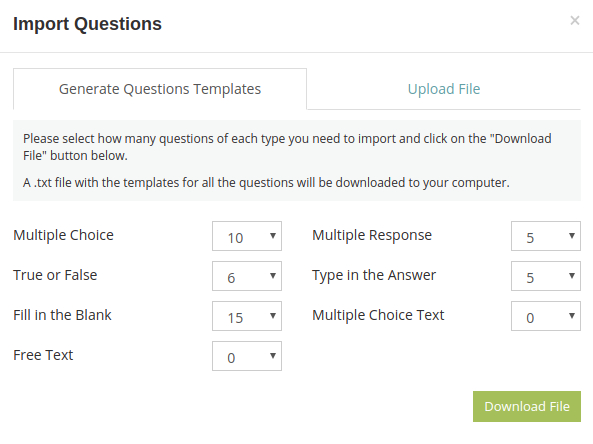
Here on the “Generate Questions Templates” tab select how many questions of each type you want to import to the current test.
HmmQuiz supports many types of questions (multiple choice, multiple response, true or false, type in the answer, fill in the blank, multiple choice text, and free text), and you can add all of them to any of your tests.
When everything is ready, click on the “Download File” button.
Step #2. Fill the text file with your questions
After the previous step you should have on your computer a file with the name HmmQuiz-questions-templates.txt. You can open it with a text editor like Notepad for Microsoft Windows.
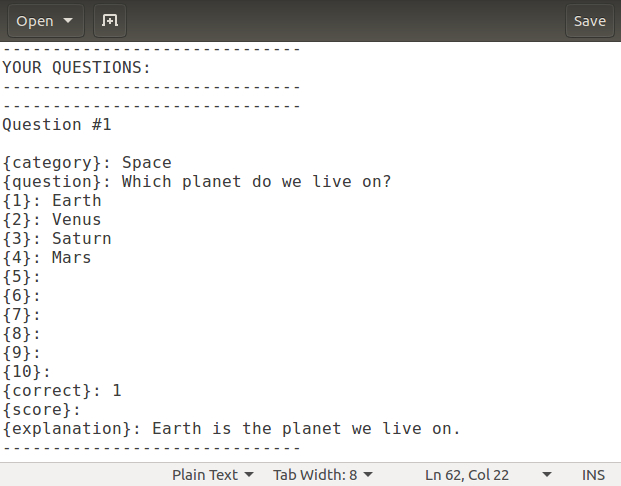
In this file you’ll need to fill out the sections marked with the “YOUR QUESTIONS” subheadings. Above each section you will find an example showing how to do it.
If the question template has some line that you don’t need, leave it as it is. For example, if you only need 3 answers for a multiple choice question, just ignore the lines for the answers 4 to 10. Similarly, if your test doesn’t require question scores, just ignore the lines for scores.
Please, do not delete anything from this file, because it can make it invalid for the further automated processing.
If you need more questions templates than you generated in this file, do not add sections for additional questions manually. In this case you’ll need to generate new questions templates file in HmmQuiz, according to the previous step.
Step #3. Upload the file with questions
Once the text file with all the questions is ready, switch back to your HmmQuiz account, and in the “Import Questions” modal window, on the “Upload File” tab, click on the “Upload Questions” button to choose the file with your questions.
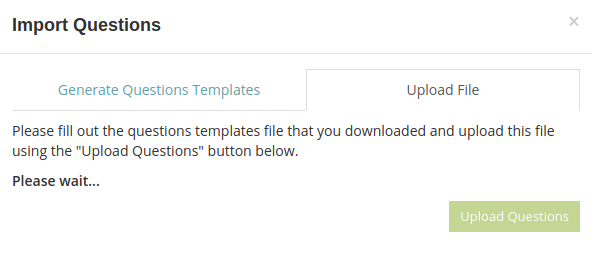
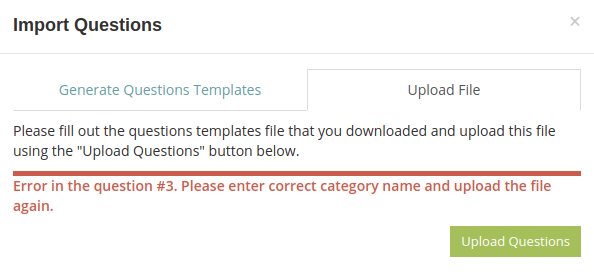
When the file is uploaded to HmmQuiz, the application will check if all the questions were added correctly. If something went wrong, you will see the error message with the specific information about the question which has some mistake that has to be fixed.
Step #4. Check your questions
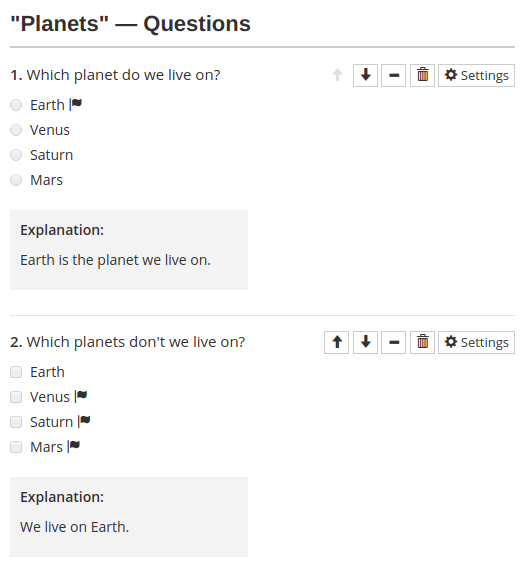
All the questions that you imported with the “Import Questions” function can be found on the “Questions” page for the current test. To go there right after the step #3, just click on the “Review All Questions” button in the “Import Questions” window.
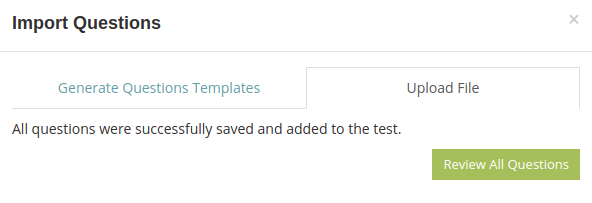
It’s recommended to always check if these questions were added exactly as you expected. Even though HmmQuiz performs multiple automated checks during the file processing, it’s always a good idea to also review questions manually once they are successfully imported.
In order to make sure that everything is saved correctly, you can also use the “Preview” option for your test.
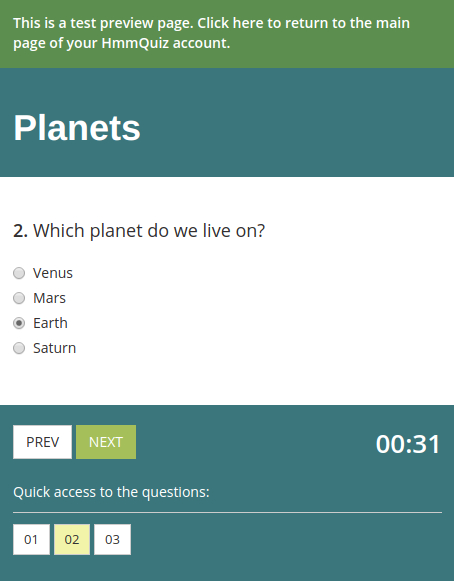
Go to the “Tests” section, in the “Tests” table find your test, and click on the “Preview” button. It will show you the test identically to how your test takers will see it.